Understanding Concepts of Taking a Bearing: A Guide for Adventurers
Author

Mike has a real passion for cycling, hiking and just generally being outdoors. Being from Warrington, he is only a few hours away from North Wales, The Peak District, Yorkshire and the Lake District. He has climbed Mount Kilimanjaro and done a lot of the mountains in the Lake District. His new passion is walking his dog and enjoying a pint at the end.
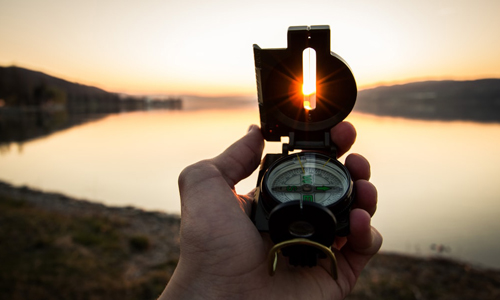
When you are out on a mountain expedition, it is essential that you know some basic skills related to navigation. It is important to understand the process of navigating your way through the mountains. One of the easiest ways to understand where you are or where you are headed is by taking a bearing. Here are ways to understand the compass and how to take a bearing.
- Get Familiar with Types of Compasses
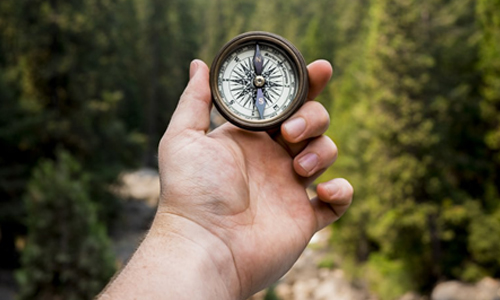
While embarking on an adventure, you need to make sure what type of compass would suit your needs. Markets are full of compasses in different shapes and sizes. However, I prefer one that is lightweight and easy to carry. You also need to make sure that your compass has a big base plate, which makes taking bearing from the map a bit easier. It is not necessary that you have to use the same compass that I use (the Silva Type 4 Expedition compass) and most of the tips I will be sharing can be applied to other compasses or the ones you might already have.
- The Right Time to Use Your Compass
While navigating your way through the great outdoors or the mountains, you may not necessarily need to use the compass at every navigation point. There are usually some paths, a wall, a stream or a fence that can help you keep in line using the compass bearing. However, there are times when you are not entirely sure and those are the times when you can use the compass to give you an approximated sense of direction.
A compass bearing is to be used when there are no such markers available on the path as mentioned above and you need to find your way. For instance, in case of poor visibility during the descent or on plateaus with no markers to keep track of the way. Here, I have put together some simple steps to help you take a bearing if you are new to this.
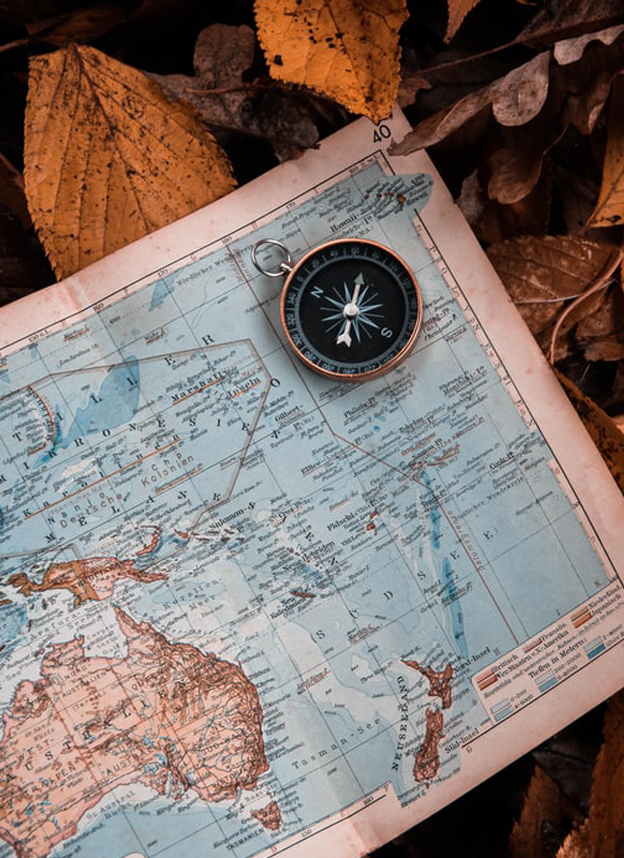
- The first step is to approximate the direction you would be heading to and mark it on your map, so it is easier for you to understand where you are and which direction you are headed to
- The second step is to line-up with your charted course. This is where the base plate of the compass comes in and helps you mark the way you are heading. However, it is essential that the direction you are heading to lines up with the direction the compass is pointing towards
- The third step is to match the North of the compass with the North marked on the map. This is the easiest part; you just need to twist the bezel to align the north of the map with the north of you compass and you are good to go
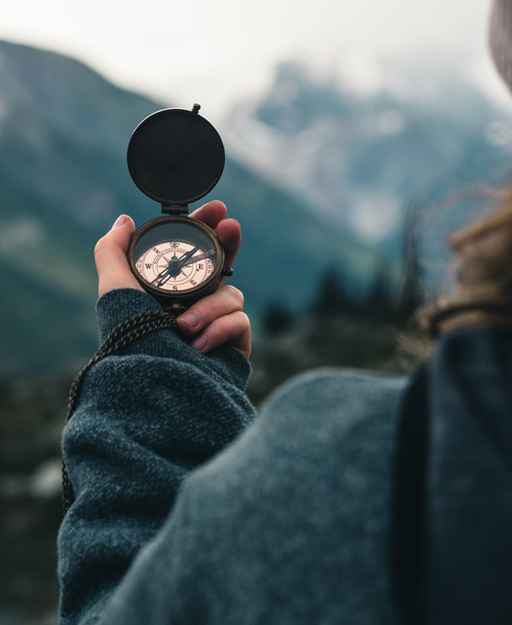
- The final step is to follow the bearing you have marked. For this, you need to take your compass away from your map and rotate it until the Fred (the red needle) is aligned with the Fred’s Shed (the red arrow). This is the direction you need to head towards as per your approximation from the first step
Once you understand how easy it is to take a bearing and get on your path with no problems, you can also use your compass for other purposes. These may include measuring the distance from one point to the other using the roamer scale, you can work out the details of grid references, measure the slope, or even look for new peaks nearby to explore.
Author
Mike has a real passion for cycling, hiking and just generally being outdoors. Being from Warrington, he is only a few hours away from North Wales, The Peak District, Yorkshire and the Lake District. He has climbed Mount Kilimanjaro and done a lot of the mountains in the Lake District. His new passion is walking his dog and enjoying a pint at the end.
Categories
- Sport (28)
- Product Reviews (3)
- Team Outdoor Look (7)
- Mike Wild (2)
- Mike Payton (2)
- Suse Hammond-Pears (3)
- Snowboarding (12)
- Latest Offers (105)
- Shop Talk (1)
- Competitions (7)
- Walking (413)
- Lifestyle Fashion (8)
- Travel (86)
- Kit Guides (176)
- Workwear Clothing (6)
- Safety Workwear (4)
- Health/Fitness (289)
- Skiing (91)
- Great Outdoors (1316)
- Cycling (92)
- January 2025
- December 2024
- November 2024
- October 2024
- September 2024
- August 2024
- July 2024
- June 2024
- May 2024
- April 2024
- March 2024
- February 2024
- January 2024
- December 2023
- November 2023
- October 2023
- September 2023
- August 2023
- July 2023
- June 2023
- May 2023
- April 2023
- March 2023
- February 2023
- January 2023
- December 2022
- November 2022
- October 2022
- September 2022
- August 2022
- July 2022
- June 2022
- May 2022
- April 2022
- March 2022
- February 2022
- January 2022
- December 2021
- November 2021
- October 2021
- September 2021
- August 2021
- July 2021
- June 2021
- May 2021
- April 2021
- March 2021
- February 2021
- January 2021
- December 2020
- November 2020
- October 2020
- September 2020
- August 2020
- July 2020
- June 2020
- May 2020
- April 2020
- March 2020
- February 2020
- January 2020
- December 2019
- November 2019
- October 2019
- September 2019
- August 2019
- July 2019
- June 2019
- May 2019
- April 2019
- March 2019
- February 2019
- January 2019
- December 2018
- November 2018
- October 2018
- September 2018
- August 2018
- July 2018
- June 2018
- May 2018
- April 2018
- March 2018
- February 2018
- January 2018
- December 2017
- November 2017
- October 2017
- September 2017
- August 2017
- July 2017
- June 2017
- May 2017
- April 2017
- March 2017
- February 2017
- January 2017
- December 2016
- November 2016
- October 2016
- September 2016
- August 2016
- July 2016
- June 2016
- May 2016
- April 2016
- March 2016
- February 2016
- January 2016
- December 2015
- November 2015
- October 2015
- September 2015
- August 2015
- July 2015
- June 2015
- May 2015
- April 2015
- March 2015
- February 2015
- January 2015
- December 2014
- November 2014
- October 2014
- September 2014
- August 2014
- July 2014
- June 2014
- May 2014
- April 2014
- March 2014
- February 2014
- January 2014
- December 2013
- November 2013
- October 2013
- September 2013
- August 2013
- July 2013
- June 2013
- May 2013
- April 2013
- March 2013
- February 2013
- January 2013
- December 2012
- November 2012
- October 2012
- September 2012
- August 2012
- July 2012
- June 2012
- May 2012
- April 2012
- March 2012
- February 2012
- January 2012
- December 2011
- November 2011
- October 2011
- September 2011
- August 2011
- May 2010
- April 2010
- March 2010
- February 2010
- January 2010
- November 2009
- October 2009
- September 2009
Submit a Comment