Packing Your Backpack for Maximum Convenience
Author
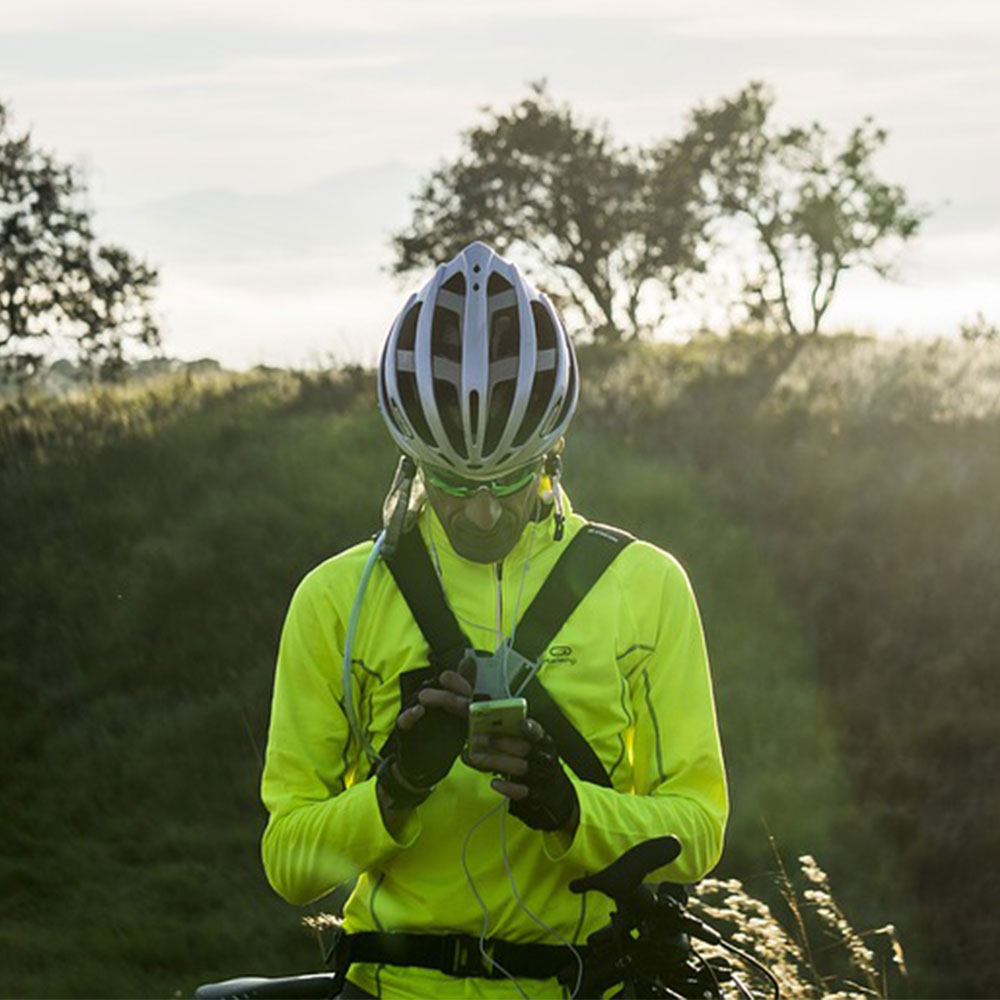
Chris shares his passion for cycling, hiking, skiing, and climbing from Buxton, in the Peak District. As a blogger for Outdoor Look, Chris shares outdoor tips and indoor tricks to help you get the most out of your time spent outside. When he's not out adventuring he's making videos or trying to keep up with his 4-year-old son.
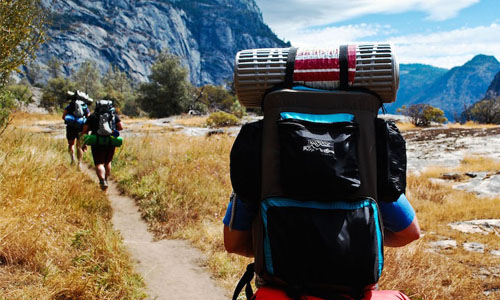 Do not take it lightly when I say this: backpacking is an art, and not many have mastered it. A year ago, I was one of the many people who used to stuff items into my backpack, without putting any emphasis on the logistics. It wasn’t until my back started to hurt that I realised that something was not right. As I am a frequent hiker, backache is a baggage that I simply can’t afford to take with me on my travels. Not only does it restrict my movement, but it also stops me from doing my favorite activity—swimming. So, I started investigating the problem and traced the origins of the backache to my backpack. With the help of a physician, I discovered that my lower back was getting unduly stressed due to the heaviness of my backpack. He told me that I should start cutting down on the weight of the backpack and also learn how to evenly distribute its weight for reducing stress on my back, or risk permanent damage to my intervertebral disc.
From that day onwards, I started exploring different ways to optimise my backpack, and after considerable research I was able to solve the problem. Since finding the solution, I have been backache free for eight months and still going strong. I now truly believe that my neatly organised backpack is worthy of being displayed for all to see in the National Gallery. Here, through this blog post, I would like to share my incredibly knowledge of backpacking with you.
Art of Backpacking Explained
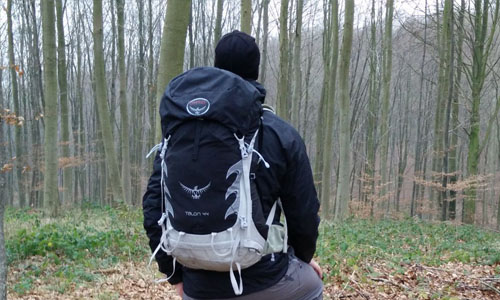
Before packing your backpack, you should know about the fundamentals of backpacking. Split your backpack into three virtual 'zones' that can be used for organising and separating the different things that you wish to take with you. These three zones are the Bottom Zone, the Core Zone, and the Top Zone.
The Bottom Zone can be used for storing bulky gear. The items that you do not require before setting up the camp should be stored in this zone. The core zone is perfect for keeping heavier items that the require support of strong material. For keeping items that you would need during your journey to the campsite, the top zone of the backpack is ideal.
 Apart from the aforementioned zones, the backpack also has some peripheral storage. Accessory pockets are good for keeping the essentials that you’ll need often on your travel. In case you have extremely long items that cannot be kept inside the backpack, you can keep them on tool loops and lash-on points.
Approach You Should Take for Storing Items in a Backpack
With the right approach, you can make the task of storing items inside the backpack easy. Begin by filling up the corners of the bag, and focus on creating rows instead of columns. Make sure that the weight is distributed evenly on all sides as it will help in reducing the load on your back. Always make a habit of tightening the compression straps to streamline your load. This will prevent a shifting of load from side to side on your hike.
Items you Should Store in Different Parts of the Bag
I have already explained the different compartments in a bag and how they should be used. Below is a list of items that should be stored in these compartments for maximum convenience:
- Bottom-of-Pack Items
- Sleeping bag
- Sleeping pad
- Camp shoes or down booties
Core-of-Pack Items
- Stove
- Water reservoir
- Food stash
- Cook kit
- Bear canister
Top-of-Pack Items
- Rain jacket
- First-aid kit
- Insulated jacket
- Fleece jacket and pants
- Water filter or purifier
- Toilet supplies
Accessory Pockets
Sunglasses
- Sunscreen
- Lip balm
- Headlamp
- Map
- Compass
- GPS
Tool Loops and Lash-On Points
Large sleeping pad
- Camp stool or chair
- Trekking poles
- Tent poles
- Ice axe
- Crampons
- Climbing rope
By storing the aforementioned items in the right compartments of your bag, you will ensure easy access to your supplies. It will also help you in maintaining equal distribution of weight in your backpack, and your back won’t get stressed so easily.
Author
Chris shares his passion for cycling, hiking, skiing, and climbing from Buxton, in the Peak District. As a blogger for Outdoor Look, Chris shares outdoor tips and indoor tricks to help you get the most out of your time spent outside. When he's not out adventuring he's making videos or trying to keep up with his 4-year-old son.
- Speed Up Your Post-Hike Recovery with These 6 Essential Tips
- Cycling through Tranquil Roads and Coastal Views on the Isle of Wight
- The Essential Guide to Hiking Safety: 5 Tips Every Hiker Should Know
- Run Smart, Run Strong: Your Guide to Injury-Free Running
- Embrace Biking: Essential Tips for Beginners
Categories
- Sport (28)
- Product Reviews (3)
- Team Outdoor Look (7)
- Mike Wild (2)
- Mike Payton (2)
- Suse Hammond-Pears (3)
- Snowboarding (12)
- Latest Offers (105)
- Shop Talk (1)
- Competitions (7)
- Walking (413)
- Lifestyle Fashion (8)
- Travel (86)
- Kit Guides (176)
- Workwear Clothing (6)
- Safety Workwear (4)
- Health/Fitness (289)
- Skiing (91)
- Great Outdoors (1316)
- Cycling (92)
- January 2025
- December 2024
- November 2024
- October 2024
- September 2024
- August 2024
- July 2024
- June 2024
- May 2024
- April 2024
- March 2024
- February 2024
- January 2024
- December 2023
- November 2023
- October 2023
- September 2023
- August 2023
- July 2023
- June 2023
- May 2023
- April 2023
- March 2023
- February 2023
- January 2023
- December 2022
- November 2022
- October 2022
- September 2022
- August 2022
- July 2022
- June 2022
- May 2022
- April 2022
- March 2022
- February 2022
- January 2022
- December 2021
- November 2021
- October 2021
- September 2021
- August 2021
- July 2021
- June 2021
- May 2021
- April 2021
- March 2021
- February 2021
- January 2021
- December 2020
- November 2020
- October 2020
- September 2020
- August 2020
- July 2020
- June 2020
- May 2020
- April 2020
- March 2020
- February 2020
- January 2020
- December 2019
- November 2019
- October 2019
- September 2019
- August 2019
- July 2019
- June 2019
- May 2019
- April 2019
- March 2019
- February 2019
- January 2019
- December 2018
- November 2018
- October 2018
- September 2018
- August 2018
- July 2018
- June 2018
- May 2018
- April 2018
- March 2018
- February 2018
- January 2018
- December 2017
- November 2017
- October 2017
- September 2017
- August 2017
- July 2017
- June 2017
- May 2017
- April 2017
- March 2017
- February 2017
- January 2017
- December 2016
- November 2016
- October 2016
- September 2016
- August 2016
- July 2016
- June 2016
- May 2016
- April 2016
- March 2016
- February 2016
- January 2016
- December 2015
- November 2015
- October 2015
- September 2015
- August 2015
- July 2015
- June 2015
- May 2015
- April 2015
- March 2015
- February 2015
- January 2015
- December 2014
- November 2014
- October 2014
- September 2014
- August 2014
- July 2014
- June 2014
- May 2014
- April 2014
- March 2014
- February 2014
- January 2014
- December 2013
- November 2013
- October 2013
- September 2013
- August 2013
- July 2013
- June 2013
- May 2013
- April 2013
- March 2013
- February 2013
- January 2013
- December 2012
- November 2012
- October 2012
- September 2012
- August 2012
- July 2012
- June 2012
- May 2012
- April 2012
- March 2012
- February 2012
- January 2012
- December 2011
- November 2011
- October 2011
- September 2011
- August 2011
- May 2010
- April 2010
- March 2010
- February 2010
- January 2010
- November 2009
- October 2009
- September 2009
Submit a Comment