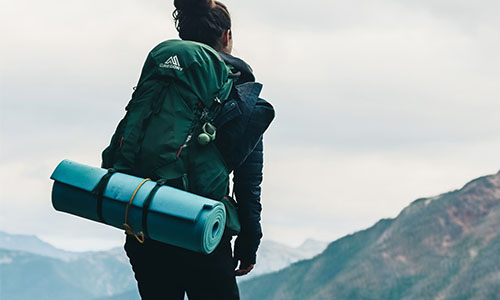
Efficient Packing Techniques and Proper Backpack Hoisting for Hikers
For hikers, mastering the art of efficiently packing a backpack is essential to ensure a comfortable and balanced journey. Properly organising gear and distributing weight can make a significant difference in the overall hiking experience. This article provides valuable packing tips and outlines the correct way to hoist a fully loaded backpack, allowing hikers to enjoy their adventures without discomfort or strain.
Hoisting Your Loaded Pack
Improperly hoisting a loaded backpack can lead to damage and discomfort. Follow these steps for a smooth and controlled hoisting process:
- Loosen all straps slightly to make the pack easier to slip on.
- Tilt the backpack to an upright position on the ground.
- Stand next to the back panel with your legs apart and knees bent.
- Grab the haul loop (webbing loop at the top of the back panel).
- Lift and slide the pack up to your thigh and let it rest; keep a hand on the haul loop for control.
- Slip one arm and shoulder through one shoulder strap until your shoulder is cradled by the padding.
- Lean forward and swing the pack onto your back. Now, slip the hand holding the haul loop through the other shoulder strap.
- Buckle up and adjust the fit as needed.

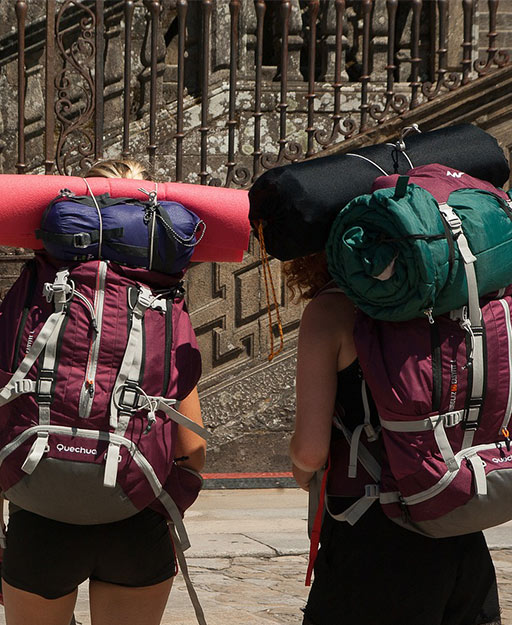
Packing Zones
When loading your backpack, divide it into three zones, each serving a specific purpose:
- Bottom Zone: This area is ideal for bulky items not required until reaching the campsite, such as a sleeping bag, sleeping pad, camp shoes, and sleepwear. Placing soft, squishy gear at the bottom can also act as a shock-absorption system for both your back and the pack.
- Core Zone: Heavy and dense gear that won't be needed during the hike should be packed in this area. Items like the food stash, cook kit, stove, water reservoir, and bear canister (containing scented items) should be placed in the core zone. This arrangement creates a stable centre of gravity and directs the load downward, maintaining a balanced feel during the hike.
- Top Zone: This section is suitable for bulkier trail essentials, including an insulated jacket, fleece jacket and pants, rain jacket, first-aid kit, water filter or purifier, and toilet supplies. Some hikers also prefer to keep their tent at the top for easy access in case of sudden storms.
- Accessory Pockets: Utilise the pockets on your backpack for smaller essentials like maps, compass, GPS, sunglasses, sunscreen, headlamp, snacks, water bottles, and personal items like ID and cash stash.
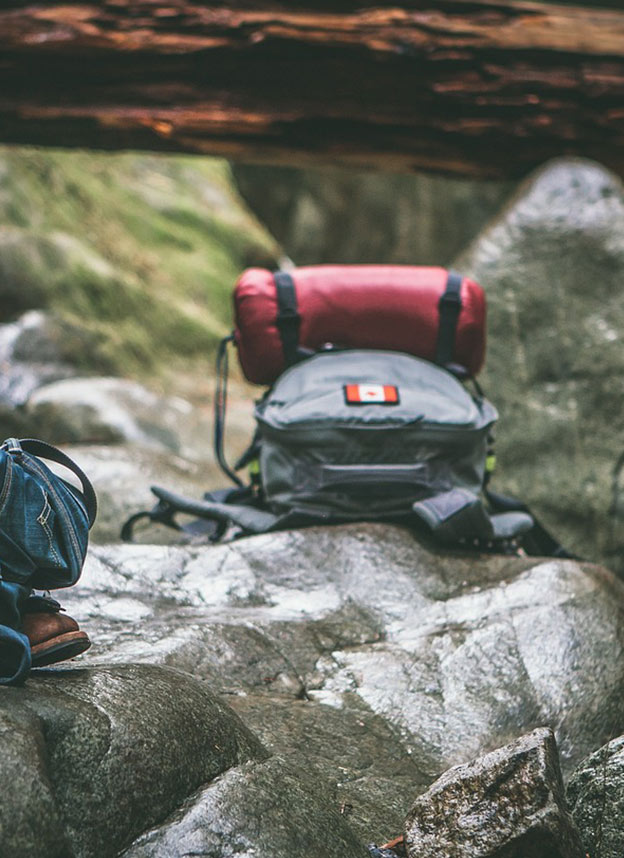
Tool Loops and Lash-On Points
For items that cannot fit inside the backpack, such as trekking poles, tent poles, large sleeping pads, camp stools or chairs, ice axes, crampons, or climbing ropes, utilise the tool loops and lash-on points provided by the backpack. However, keep in mind that carrying too many items externally may lead to snagging or scraping against rocks and branches.
Conclusion
Efficiently packing a backpack and correctly hoisting it are crucial skills for hikers seeking a comfortable and enjoyable outdoor experience. By strategically organising gear into different zones and using accessory pockets and tool loops, hikers can create a balanced load. Mastering the art of hoisting a backpack allows for easy removal and re hoisting during rest stops, preventing strain and fatigue. For any questions or further guidance on packing techniques and backpack features, consulting a backpacking expert can be beneficial. With these insights, hikers can embark on their journeys with confidence and make lasting memories in the great outdoors.
Categories
- Sport (28)
- Product Reviews (3)
- Team Outdoor Look (7)
- Mike Wild (2)
- Mike Payton (2)
- Suse Hammond-Pears (3)
- Snowboarding (12)
- Latest Offers (105)
- Shop Talk (1)
- Competitions (7)
- Walking (413)
- Lifestyle Fashion (8)
- Travel (86)
- Kit Guides (176)
- Workwear Clothing (6)
- Safety Workwear (4)
- Health/Fitness (289)
- Skiing (91)
- Great Outdoors (1316)
- Cycling (92)
- January 2025
- December 2024
- November 2024
- October 2024
- September 2024
- August 2024
- July 2024
- June 2024
- May 2024
- April 2024
- March 2024
- February 2024
- January 2024
- December 2023
- November 2023
- October 2023
- September 2023
- August 2023
- July 2023
- June 2023
- May 2023
- April 2023
- March 2023
- February 2023
- January 2023
- December 2022
- November 2022
- October 2022
- September 2022
- August 2022
- July 2022
- June 2022
- May 2022
- April 2022
- March 2022
- February 2022
- January 2022
- December 2021
- November 2021
- October 2021
- September 2021
- August 2021
- July 2021
- June 2021
- May 2021
- April 2021
- March 2021
- February 2021
- January 2021
- December 2020
- November 2020
- October 2020
- September 2020
- August 2020
- July 2020
- June 2020
- May 2020
- April 2020
- March 2020
- February 2020
- January 2020
- December 2019
- November 2019
- October 2019
- September 2019
- August 2019
- July 2019
- June 2019
- May 2019
- April 2019
- March 2019
- February 2019
- January 2019
- December 2018
- November 2018
- October 2018
- September 2018
- August 2018
- July 2018
- June 2018
- May 2018
- April 2018
- March 2018
- February 2018
- January 2018
- December 2017
- November 2017
- October 2017
- September 2017
- August 2017
- July 2017
- June 2017
- May 2017
- April 2017
- March 2017
- February 2017
- January 2017
- December 2016
- November 2016
- October 2016
- September 2016
- August 2016
- July 2016
- June 2016
- May 2016
- April 2016
- March 2016
- February 2016
- January 2016
- December 2015
- November 2015
- October 2015
- September 2015
- August 2015
- July 2015
- June 2015
- May 2015
- April 2015
- March 2015
- February 2015
- January 2015
- December 2014
- November 2014
- October 2014
- September 2014
- August 2014
- July 2014
- June 2014
- May 2014
- April 2014
- March 2014
- February 2014
- January 2014
- December 2013
- November 2013
- October 2013
- September 2013
- August 2013
- July 2013
- June 2013
- May 2013
- April 2013
- March 2013
- February 2013
- January 2013
- December 2012
- November 2012
- October 2012
- September 2012
- August 2012
- July 2012
- June 2012
- May 2012
- April 2012
- March 2012
- February 2012
- January 2012
- December 2011
- November 2011
- October 2011
- September 2011
- August 2011
- May 2010
- April 2010
- March 2010
- February 2010
- January 2010
- November 2009
- October 2009
- September 2009
Submit a Comment