Digging Snow pits for a Safe and Secure Adventure in the Snow
Author
Chris shares his passion for cycling, hiking, skiing, and climbing from Buxton, in the Peak District. As a blogger for Outdoor Look, Chris shares outdoor tips and indoor tricks to help you get the most out of your time spent outside. When he's not out adventuring he's making videos or trying to keep up with his 4-year-old son.
When I first ventured on the mountains in my teens, I can remember my father telling me about avalanche and how it can be a curse for a skier. He told me about snow packs, snow stability and most importantly he taught me the art of digging the perfect snow pit. His narration is quite vivid in my mind.
Whenever I go skiing or snowshoeing, I make sure that I check the surface stability by digging a pit. If you are a newbie and have no knowledge of snow pits and avalanches, I recommend that you make use of my tips which are the result of my years of experience in the snow.
1. Avoid Avalanche Affected Areas
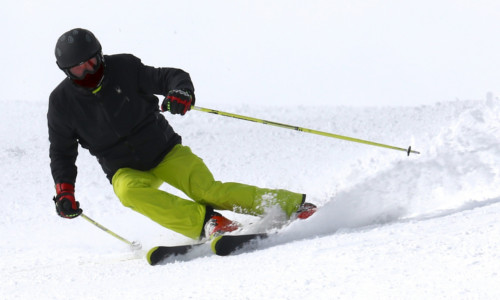
Scout the area that you will be visiting and gather as much information as possible before starting your ski session. If the zone that you will be skiing in has a history of avalanches, skip the area. Unless you cannot find any other area nearby for performing your activities, do not ski or snowshoe on dicey terrain.
2. Learn About Avalanches and Safety Procedures by Taking a Course
Not everyone has a trainer as accomplished as my father. If you have no knowledge about snow pits and how to analyse them, take a safety course. As avalanches claim many lives every year, getting trained is the best thing you can do.
3. Dig Your Snow Pit in a Relevant Area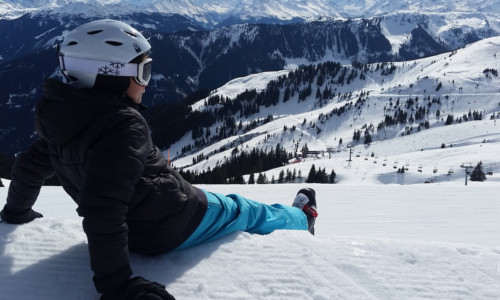
You should always dig your snow pit in an area which is representative of the location that you will be using. Always search for a test slope that won't put you in danger if it slides. You can start on slopes that seem to pose no threat, and then make your way to slopes that are more likely to cause an avalanche. The art of finding the right representative location can be quite tricky. To learn the nitty-gritty of snow pit digging, a course or a lesson from an expert could be quite useful.
4. Use your ski pole for probing
I always probe the area with my ski pole. I push the surface till I meet some resistance – if it gives way and suddenly falls through, then I know I have found a weak spot. Probing for a representative depth is important, so avoid digging on top of a rock.
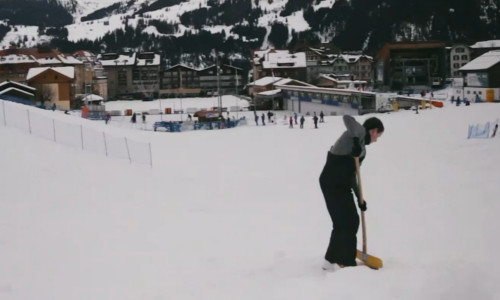
5. Shovelling Snow
Make a hole which is about the width of your ski length. Keep your snow pit depth between 1.5 and 2 meters, unless you know you need to go deeper to analyse weak layers. Remove the snow on the downhill side of the slope by shovelling, and push it behind you. This will create room for you to work.
Testing Snowpack Stability
Get a snow saw, a cord, and a shovel. Test the snowpack in the pit by running your hands over it. Weak layers will quickly crumble and strong layers will stay intact. Upon getting the necessary details about snowpack, smoothen the area using the snow saw. Now, you need to isolate snow columns for testing. This can be done by performing a shovel-sized test (30cm wide by 30cm up the slope) and an "extended-column" test (90cm wide by 30 cm up). Use a cord to measure the column section and isolate it by cutting it with a snow saw.
Stress/Stability Test
Place your shovel blade on top of the column and use your wrist to give it 10 firm taps. Then use your elbow for 10 more taps and finally use your shoulders for 10 more taps. Observe the column and check if it breaks down. If you see a clean shear with tapping from the wrist, it is a clear sign of avalanche danger. However, a weak "slump" observed after tapping from the shoulder cannot be deemed dangerous.
Pro Tip:
From my personal experience, I have learned that spending too much time digging one big snow pit is not the best approach. We are searching for patterns, so instead of one massive snow pit, dig several small ones, and perform rigorous stability tests to ascertain avalanche danger.
Author
Chris shares his passion for cycling, hiking, skiing, and climbing from Buxton, in the Peak District. As a blogger for Outdoor Look, Chris shares outdoor tips and indoor tricks to help you get the most out of your time spent outside. When he's not out adventuring he's making videos or trying to keep up with his 4-year-old son.
- Speed Up Your Post-Hike Recovery with These 6 Essential Tips
- Cycling through Tranquil Roads and Coastal Views on the Isle of Wight
- The Essential Guide to Hiking Safety: 5 Tips Every Hiker Should Know
- Run Smart, Run Strong: Your Guide to Injury-Free Running
- Embrace Biking: Essential Tips for Beginners
Categories
- Sport (28)
- Product Reviews (3)
- Team Outdoor Look (7)
- Mike Wild (2)
- Mike Payton (2)
- Suse Hammond-Pears (3)
- Snowboarding (12)
- Latest Offers (105)
- Shop Talk (1)
- Competitions (7)
- Walking (413)
- Lifestyle Fashion (8)
- Travel (86)
- Kit Guides (176)
- Workwear Clothing (6)
- Safety Workwear (4)
- Health/Fitness (289)
- Skiing (91)
- Great Outdoors (1316)
- Cycling (92)
- January 2025
- December 2024
- November 2024
- October 2024
- September 2024
- August 2024
- July 2024
- June 2024
- May 2024
- April 2024
- March 2024
- February 2024
- January 2024
- December 2023
- November 2023
- October 2023
- September 2023
- August 2023
- July 2023
- June 2023
- May 2023
- April 2023
- March 2023
- February 2023
- January 2023
- December 2022
- November 2022
- October 2022
- September 2022
- August 2022
- July 2022
- June 2022
- May 2022
- April 2022
- March 2022
- February 2022
- January 2022
- December 2021
- November 2021
- October 2021
- September 2021
- August 2021
- July 2021
- June 2021
- May 2021
- April 2021
- March 2021
- February 2021
- January 2021
- December 2020
- November 2020
- October 2020
- September 2020
- August 2020
- July 2020
- June 2020
- May 2020
- April 2020
- March 2020
- February 2020
- January 2020
- December 2019
- November 2019
- October 2019
- September 2019
- August 2019
- July 2019
- June 2019
- May 2019
- April 2019
- March 2019
- February 2019
- January 2019
- December 2018
- November 2018
- October 2018
- September 2018
- August 2018
- July 2018
- June 2018
- May 2018
- April 2018
- March 2018
- February 2018
- January 2018
- December 2017
- November 2017
- October 2017
- September 2017
- August 2017
- July 2017
- June 2017
- May 2017
- April 2017
- March 2017
- February 2017
- January 2017
- December 2016
- November 2016
- October 2016
- September 2016
- August 2016
- July 2016
- June 2016
- May 2016
- April 2016
- March 2016
- February 2016
- January 2016
- December 2015
- November 2015
- October 2015
- September 2015
- August 2015
- July 2015
- June 2015
- May 2015
- April 2015
- March 2015
- February 2015
- January 2015
- December 2014
- November 2014
- October 2014
- September 2014
- August 2014
- July 2014
- June 2014
- May 2014
- April 2014
- March 2014
- February 2014
- January 2014
- December 2013
- November 2013
- October 2013
- September 2013
- August 2013
- July 2013
- June 2013
- May 2013
- April 2013
- March 2013
- February 2013
- January 2013
- December 2012
- November 2012
- October 2012
- September 2012
- August 2012
- July 2012
- June 2012
- May 2012
- April 2012
- March 2012
- February 2012
- January 2012
- December 2011
- November 2011
- October 2011
- September 2011
- August 2011
- May 2010
- April 2010
- March 2010
- February 2010
- January 2010
- November 2009
- October 2009
- September 2009
Submit a Comment