A Guide To Making A Comfy Chair
Author
A keen runner, skier and nuts about cycling. Karl lives in Cumbria, where he loves encouraging his two children to follow in his outdoor lifestyle. Whilst out and about keeping active, Karl keeps a diary and shares it with Outdoor Look.
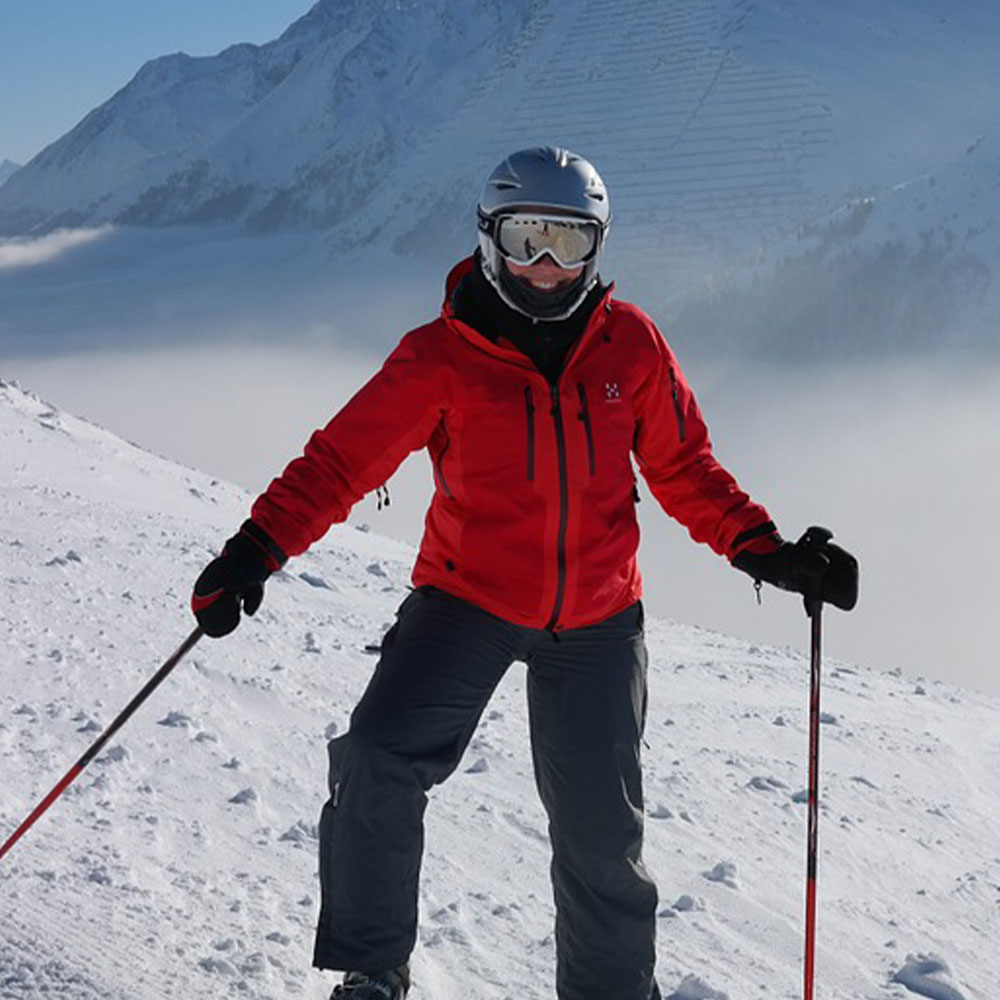
 It wasn’t very long ago, as I remember, when I sat outside to perch with my parents and have a chat. It was cool and breezy out there, where we sat on the chairs that I made from the skis, which I must admit wasn’t as difficult to do as it seemed. So, if you feel like doing the same, here is how I went about it.
Keeping it simple
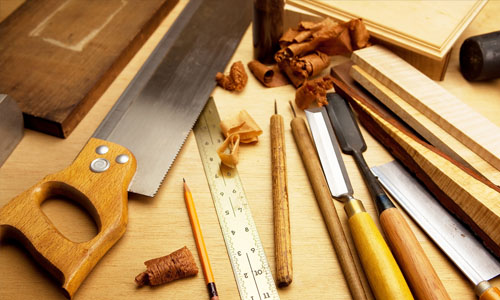
The approach that I took was to keep it as simple and as easy as possible. Since I had a very modest budget in mind, I tried to procure material which was easily available and could fit my budget. The tools and materials I used never punched a hole in my pocket. Some of the essential tools and materials that I used for making these chairs were:
- Goggles and Gloves, to ensure my safety at all costs
- Old skis and snowboards (I borrowed some from my friends, and for the rest I used an old stack which lay in my backyard)
- Handsaw (One needs to careful while using these)
- A wood blade
- A angle grinder with a cutoff wheel
- A wood glue
- A small box of 1.5 to 3 inch screws
- Two boards
Here comes the real work
And then the real thing starts. Try using an easy approach like the one I tried, in which I used a chair as a model that was pre built. This approach helped me complete my task at a faster rate and much more easily. This made it seem like making a chair wasn’t a very difficult task to do. Focusing on the angles is the main thing you need to keep in mind while carving out the chair. Some of the most important angles while making the chair are the rear right and left arm support brackets.
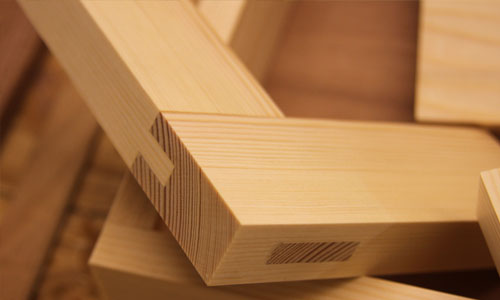 Thereafter, it is about framing the chair. While doing this you need to be focused on watching and getting the angles correct. Attach the wide support back legs to small front support legs. Again, be careful while you work on the legs that are in the front. A 70-degree angle on both front and forth legs at about 50cm high would surely make the chair a comfortable one. Moving on, once the front legs are set, you will have to set the brace that is at the bottom for the back support. This is going to create the shape of the frame and would also, at the same time, set the level for the legs. After doing all this, set the upper back brace with the back legs so that you are able to complete your initial frame for the chair. Measuring your ski selections for the back of the chair, and varying lengths to create a small arch for the crown is very essential as well. You might also think about using an angle grinder to cut through the ski edge. To cut through the centre you will have to use your hacksaw.
Finally at the end of it, use the ski trails for the construction of the seat for your chair, making a cut based on the thickness of the ski. Remember that the seat of your chair might turn out to be a little frail if all the cuts are laid and set in the same direction.
Sitting back and relaxing on the chair that you made with your own hands is going to give you a feeling like you’ve never had.
Author
A keen runner, skier and nuts about cycling. Karl lives in Cumbria, where he loves encouraging his two children to follow in his outdoor lifestyle. Whilst out and about keeping active, Karl keeps a diary and shares it with Outdoor Look.
Categories
- Sport (28)
- Product Reviews (3)
- Team Outdoor Look (7)
- Mike Wild (2)
- Mike Payton (2)
- Suse Hammond-Pears (3)
- Snowboarding (12)
- Latest Offers (105)
- Shop Talk (1)
- Competitions (7)
- Walking (413)
- Lifestyle Fashion (8)
- Travel (86)
- Kit Guides (176)
- Workwear Clothing (6)
- Safety Workwear (4)
- Health/Fitness (289)
- Skiing (91)
- Great Outdoors (1316)
- Cycling (92)
- January 2025
- December 2024
- November 2024
- October 2024
- September 2024
- August 2024
- July 2024
- June 2024
- May 2024
- April 2024
- March 2024
- February 2024
- January 2024
- December 2023
- November 2023
- October 2023
- September 2023
- August 2023
- July 2023
- June 2023
- May 2023
- April 2023
- March 2023
- February 2023
- January 2023
- December 2022
- November 2022
- October 2022
- September 2022
- August 2022
- July 2022
- June 2022
- May 2022
- April 2022
- March 2022
- February 2022
- January 2022
- December 2021
- November 2021
- October 2021
- September 2021
- August 2021
- July 2021
- June 2021
- May 2021
- April 2021
- March 2021
- February 2021
- January 2021
- December 2020
- November 2020
- October 2020
- September 2020
- August 2020
- July 2020
- June 2020
- May 2020
- April 2020
- March 2020
- February 2020
- January 2020
- December 2019
- November 2019
- October 2019
- September 2019
- August 2019
- July 2019
- June 2019
- May 2019
- April 2019
- March 2019
- February 2019
- January 2019
- December 2018
- November 2018
- October 2018
- September 2018
- August 2018
- July 2018
- June 2018
- May 2018
- April 2018
- March 2018
- February 2018
- January 2018
- December 2017
- November 2017
- October 2017
- September 2017
- August 2017
- July 2017
- June 2017
- May 2017
- April 2017
- March 2017
- February 2017
- January 2017
- December 2016
- November 2016
- October 2016
- September 2016
- August 2016
- July 2016
- June 2016
- May 2016
- April 2016
- March 2016
- February 2016
- January 2016
- December 2015
- November 2015
- October 2015
- September 2015
- August 2015
- July 2015
- June 2015
- May 2015
- April 2015
- March 2015
- February 2015
- January 2015
- December 2014
- November 2014
- October 2014
- September 2014
- August 2014
- July 2014
- June 2014
- May 2014
- April 2014
- March 2014
- February 2014
- January 2014
- December 2013
- November 2013
- October 2013
- September 2013
- August 2013
- July 2013
- June 2013
- May 2013
- April 2013
- March 2013
- February 2013
- January 2013
- December 2012
- November 2012
- October 2012
- September 2012
- August 2012
- July 2012
- June 2012
- May 2012
- April 2012
- March 2012
- February 2012
- January 2012
- December 2011
- November 2011
- October 2011
- September 2011
- August 2011
- May 2010
- April 2010
- March 2010
- February 2010
- January 2010
- November 2009
- October 2009
- September 2009
Submit a Comment